


One of the most important steps in setting up your Windows 10 PC is to choose a user account. This account will be used to access your computer, sign in to online services, and store personal files. There are a few different types of user accounts you can create, and each has its own advantages and disadvantages. In this article, we’ll walk you through the process of setting up a user account on Windows 10.
What is Windows 10?
Windows 10 is the latest operating system from Microsoft. It is available as a free upgrade for users of Windows 7 and 8.1.
Windows 10 is a great operating system for users who want to take advantage of the latest features and technology.
One of the most important features of Windows 10 is the ability to set up your computer to work best for you. This guide will teach you how to set up your Windows 10 PC.
You will learn how to configure your device settings, access your files, and manage your privacy. You will also be able to configure your computer to work with devices like printers and mice.
By following this guide, you will be able to get started with using Windows 10 PCs!
How do I get started?
To set up your Windows PC, you’ll first need to download and install the Windows 10 operating system. After you’ve installed the operating system, you can begin the setup process by following these steps:
1. Go to the Start Menu and search for “Activation.”
2. Click on “Activation,” and then click on the “Get Started” button.
3. Follow the instructions on the screen to complete the Windows 10 setup process.
4. Once the installation is complete, launch the Windows 10 desktop by clicking on the Start button and typing “desktop.”
5. Click on the “File” menu and select “New.”
6. In the new window, enter “Windows 10” in the Name text field, and then click on the “OK” button.
7. In the newly created window, click on the “Settings” tab.
8. Under “System,” click on the “Advanced options” button.
9. On the next screen, under “OS customization,” click on the “Choose how updates are delivered” drop-down menu and select “Windows Update.”
10. Under “Update settings,” select either the “Automatically allowunsigned updates (
Setting Up Your PC
1. To start setting up your Windows PC, you will need to connect it to the internet. You can do this by either connecting it to a wireless network or by plugging it into an ethernet cable.
2. Once your PC is connected to the internet, you can start setting up your computer by following the on-screen instructions. If you have any questions or problems, be sure to go online and search for help. There are many helpful websites that will guide you through the setup process.
3. Once your PC is set up, be sure to sign in to your account and update your software. This will ensure that your computer is running at its best possible performance.
Creating a User Profile
To use your Windows PC the way you want, you need to create a user profile. This is a set of settings that lets you use your computer in the way that’s best for you.
To create a user profile, first open the Start menu and click on User Accounts and Family Safety. Next, click on Create New User Profile.
This will open the Create New User Profile window. In this window, you will need to provide some basic information about yourself. The most important thing to remember is to provide a name and password for your user profile. You will also need to choose a username (this is what people will see when they visit your profile). Finally, you will need to select the accounts that you want this profile to have access to. Click on the green checkboxes next to the accounts you want to include and then click on Create Account.
Now that you have created your user profile, it’s time to set up permissions. To do this, click on Permissions in the left-hand corner of the window. In this window, you will need to decide which files and folders should be accessible by your user profile. You can also allow other users access to your PC using guest accounts.
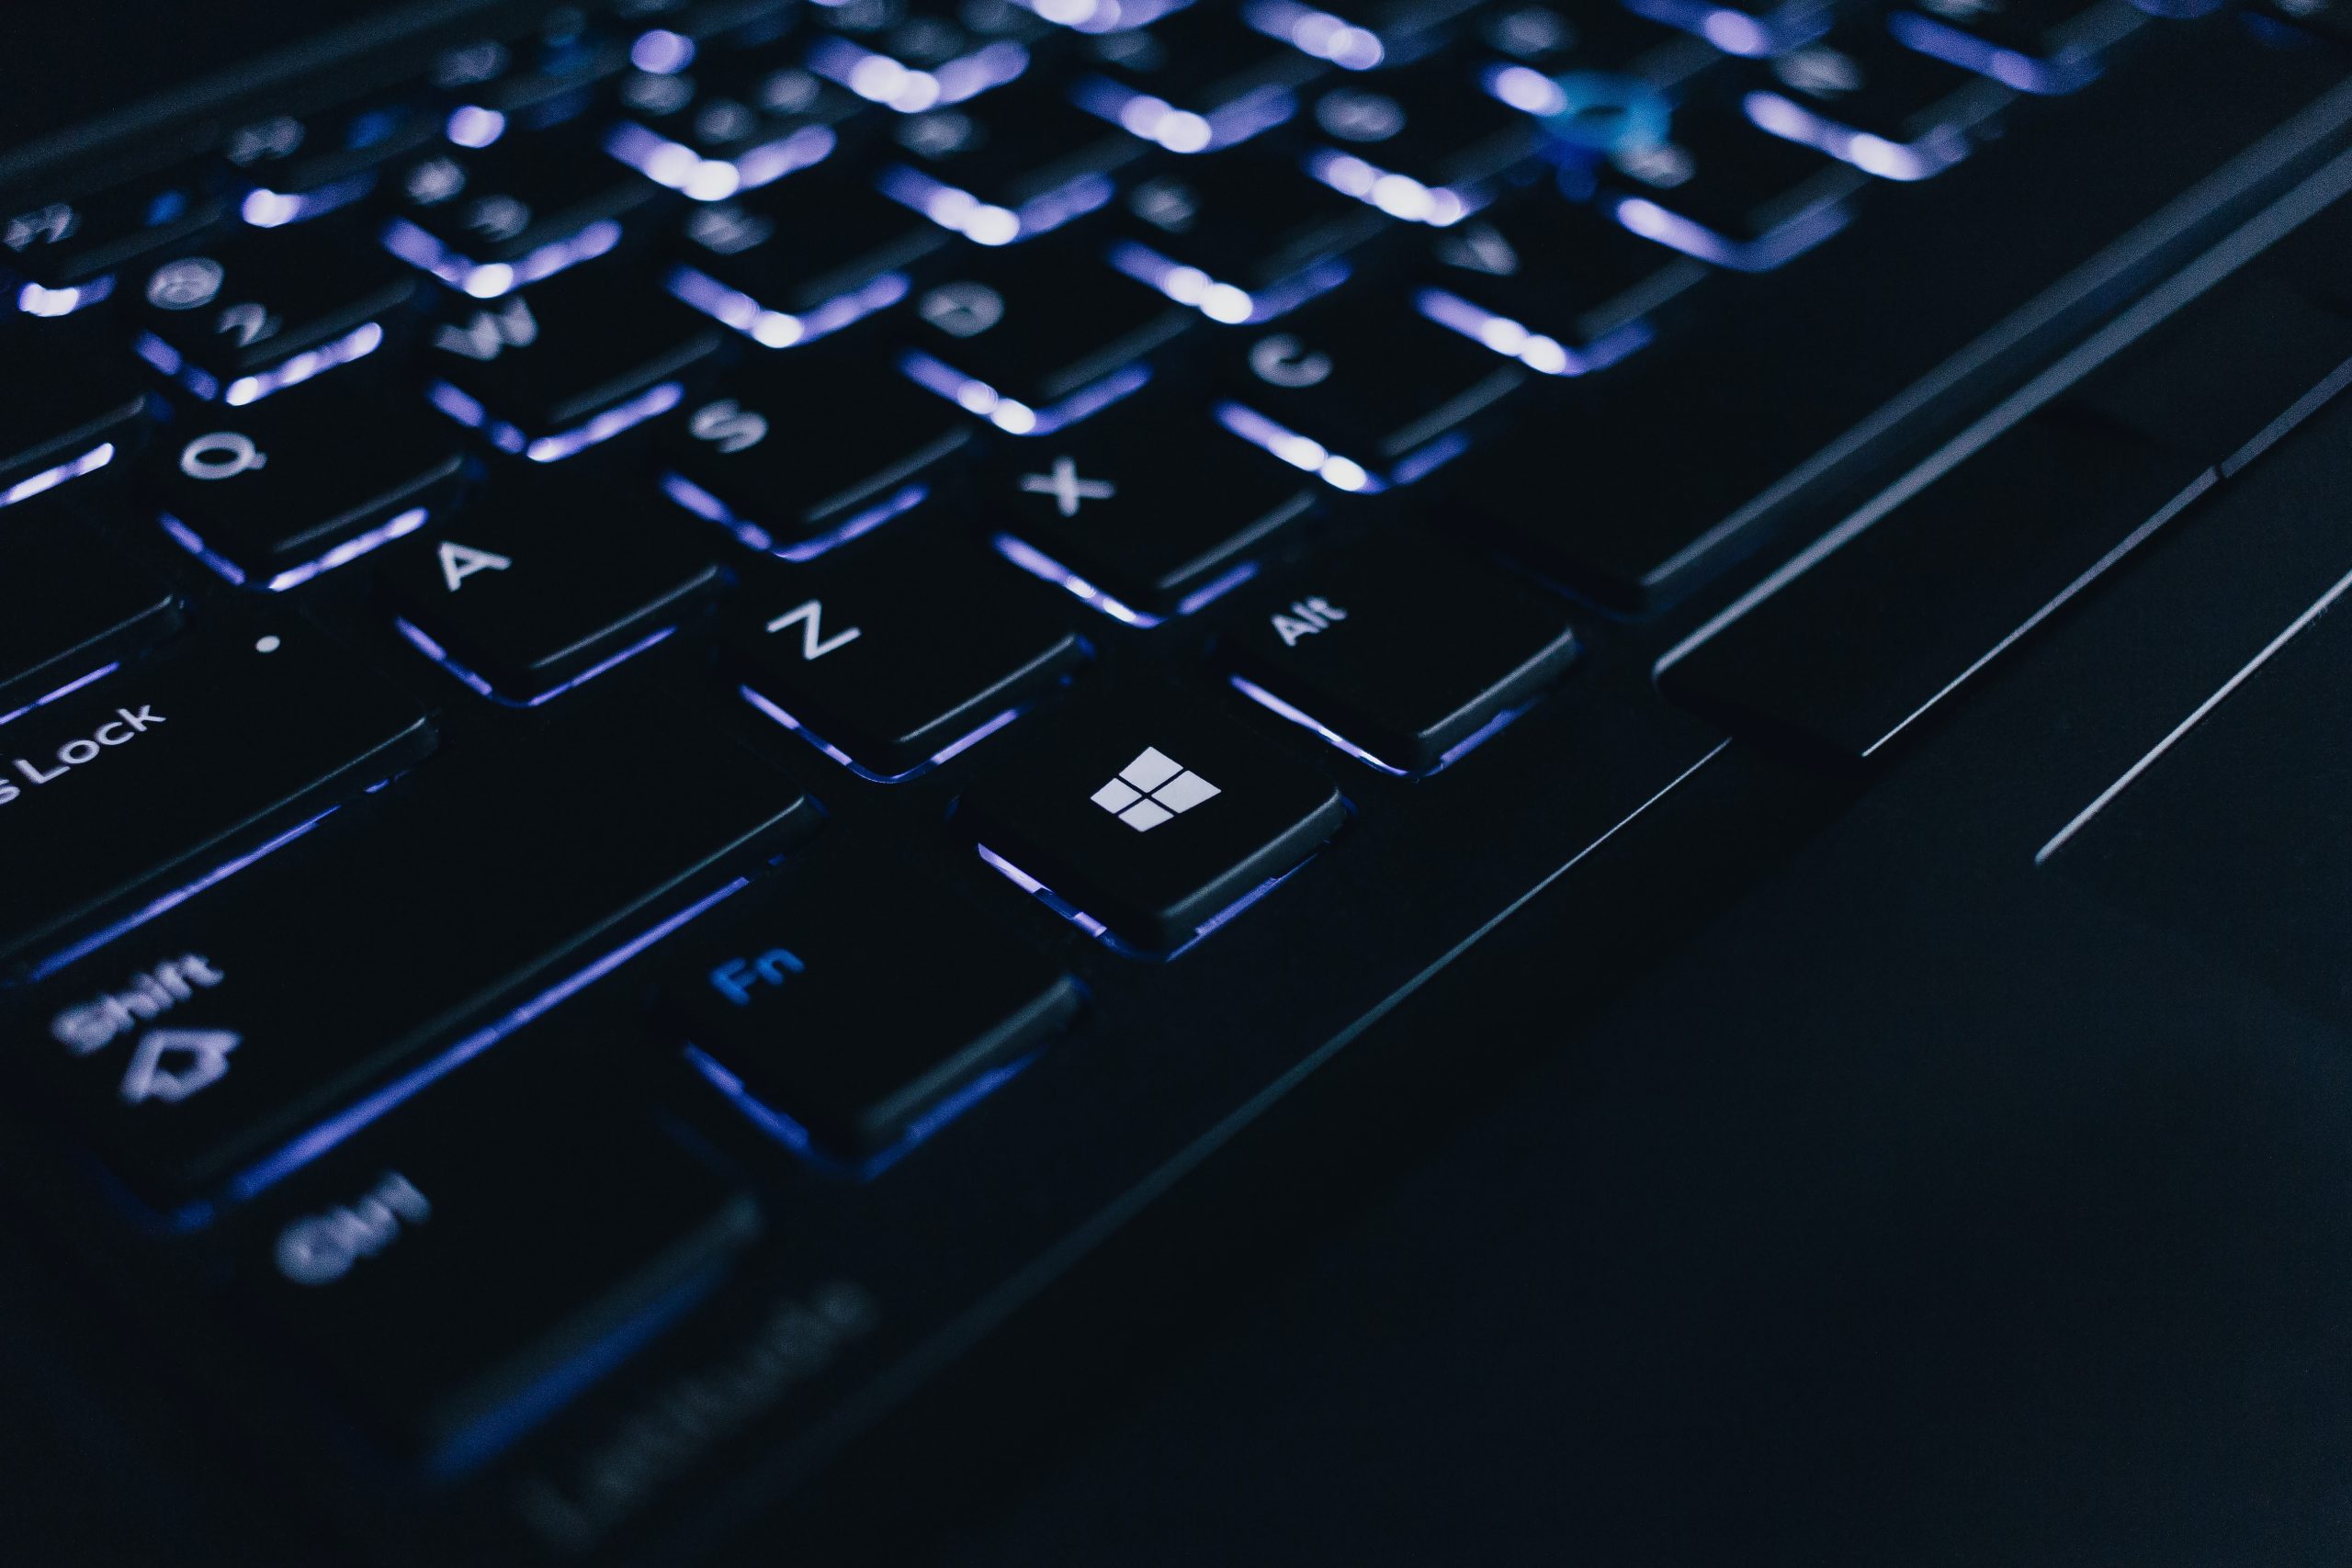
The Start Menu
If you’re new to Windows, the first thing you’ll want to do is get used to the Start Menu. The Start Menu is a collection of shortcuts that let you quickly access your programs and files.
To get started, open the Start Menu by clicking on the button that appears when you press down on the keyboard. Next, click on the arrow that appears next to the word ” Programs .” This will display a list of all the programs that are installed on your computer.
To find a program, type its name into the search box at the top of the Start Menu. Or, you can click on a program’s icon to open it. Once you’ve found what you’re looking for, click on it to start using it.
Change Your Background Image
To make your Windows PC look its best, you’ll want to change your background image. This is a simple task that can improve the look and feel of your computer.
To change your background image, first open the Start menu and click on “Control Panel.” From there, click on “Appearance and Personalization” and then on “Background.” Next, you’ll need to choose a new background image.
If you want to use an image from your computer, select it and then click on the “Set as Background” button. If you want to use an external image, copy the URL of the image into the “Image URL” field and then click on the “Set as Background” button.
Customizing the Taskbar
1. Customizing the Taskbar
One of the first things you’ll want to do when setting up your windows PC is customize the taskbar. The taskbar is a bar at the bottom of the screen that provides quick access to your most commonly used programs and files.
To customize the taskbar, open the Start menu and click on “Taskbar.” On the Taskbar tab, you’ll see a list of all the programs installed on your windows PC. To add a new program to the taskbar, click on its icon and then click on “Add to Taskbar.” You can also remove programs from the taskbar by clicking on its icon and then clicking on “Remove from Taskbar.”
2. Setting Up Shortcuts
Another way to customize your windows PC is by setting up shortcuts. A shortcut is a file or program that you can quickly launch without having to open its file or go through its menus. To set up a shortcut, right-click on an empty area of your desktop and select “New Shortcut.” In the “Type a name for this shortcut” box, type in the name of the file or program you want to shortcut and then click on “OK.” You can
Getting Started with Cortana
To get started with Cortana, you will first need to enable her on your Windows 10 PC. To do this, open the Start menu and search for “Cortana.” Once she is found, click on the “enable” button next to her name.
Once Cortana is enabled, you can start using her by following a few simple steps. First, open the Cortana app on your PC. Then, click on the “Settings” icon in the mainmenu. From here, you can configure Cortana’s settings as you desire.
Navigating the Desktop
To get started, you’ll need to navigate to the desktop. To do this, open your Start menu and click on the “All Programs” icon. Then, select the “Accessories” menu item and select “Windows Explorer.” In Windows Explorer, double-click on the “My Computer” icon to open the computer’s desktop.
Once you’re on the desktop, you’ll see a series of icons at the bottom of the screen. The first icon is labeled “Start.” You can use this icon to start programs or access your files. The second icon is labeled “Programs.” This is where you’ll find all of your installed software. The third icon is labeled “Files.” This is where you’ll find all of your files and folders.
The fourth and fifth icons are both titled “Control Panel.” The fourth icon is labeled “System and Security.” This is where you can change your computer’s settings. The fifth icon is labeled “Administrative Tools.” This is where you can manage your computer’s security settings.
Finally, at the top of the screen, you’ll see a row of icons labeled “Windows.” The first icon in this row is labeled “Start Menu.”
Managing Files and Documents
1. To manage files and documents on your Windows PC, you first need to create folders where you want them to be stored. You can do this by clicking on the Start button and typing “Files”. Then, from the Files pane, you can select “New” to create a new folder.
2. Once you have created a folder, you can place files and documents inside it. To do this, simply drag and drop them onto the folder icon on the desktop. Alternatively, you can use the keyboard shortcut: Ctrl+N (Mac) or Cmd+N (Windows).
3. To move a file or document from one folder to another, simply drag and drop it into the desired location. You can also use the “Copy” command to copy a file or document to another location in your PC.
4. You can also use the “Paste” command to paste a file or document from one location into another. Simply highlight the file or document that you want to paste, then click on the Paste button.


